Getting Started
This guide will help you to quickly setup Clicky Panel for first time.
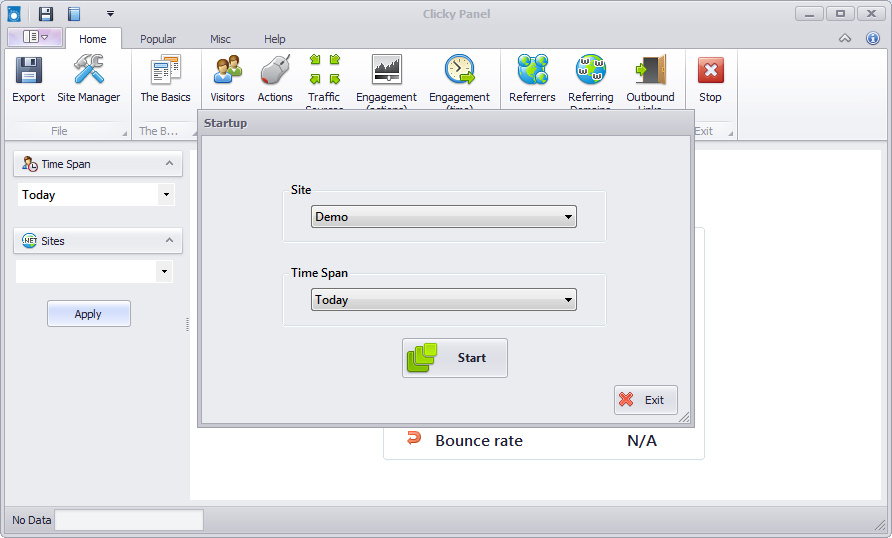
After the installation of clicky panel you will see a window similar to this one below,
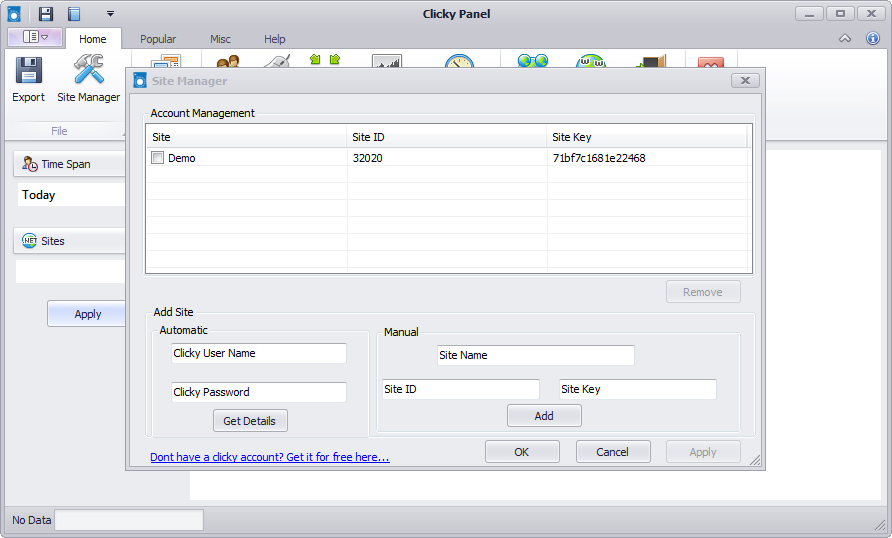
Now there are to ways to add your site to clicky panel,
(Don’t forget,you can add more than one account and site to your clicky panel.)
- Enter your site details manually, (Site Name field may contain any name which is not necessarily a URL)you can find siteID and Sitekey under your site “Preferences” at clicky.com , or
- you just enter your username and password of clicky.com and press “Get Details” button, then the necessary configuration will be done automatically.
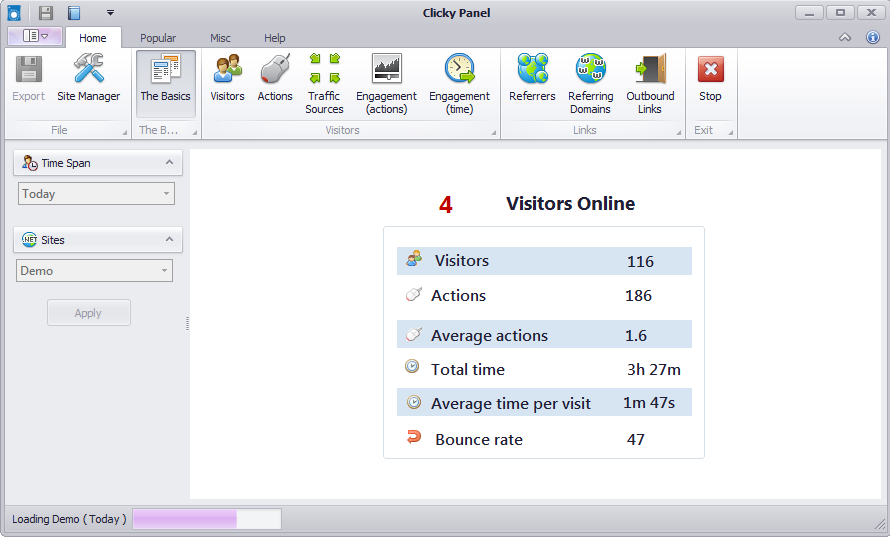
After closing “Startup” you will see your site data loading in the dashboard.

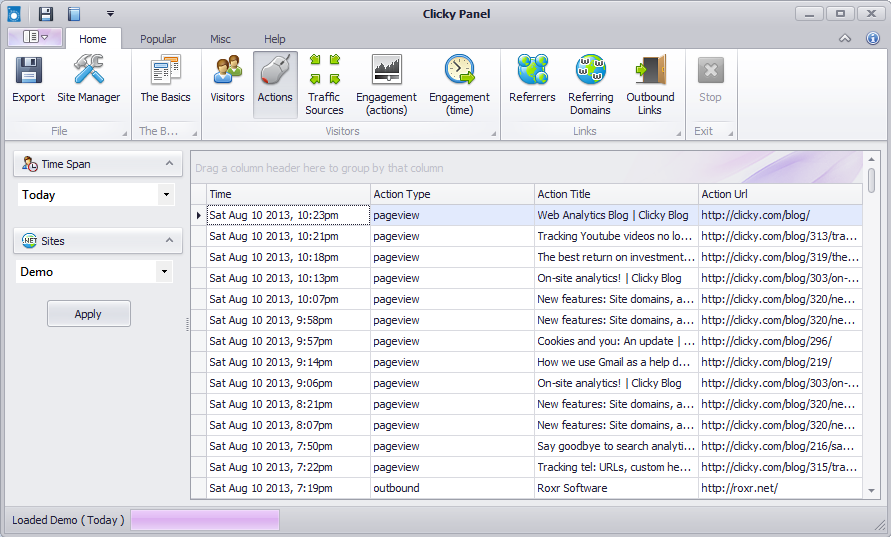
Once you are in the Dashboard it is pretty simple,
You can select any site (profile) and Time Span from the left part of the dashboard.
Once you make any changes, the data will be automatically refreshed.

You can export data by going to “Export” option in the upper part of the dashboard.
In the export window specify the file path which is to be saved, then just hit save.The file will be saved in XLS, XSLX and CSV (Comma Seperated Values) Document, which can be opened in any spread sheet application such as Microsoft Excel.


